Game menu
Main menu
A bold game entry screen
Launch a game session with clear primary actions.
Free online builder
This Roblox GUI Maker lets you design your interface visually, preview every change, then copy a complete LocalScript for Roblox Studio. No plugin, account, or setup required.
ROBLOX GUI MAKER
Loading project
RESULTS YOU CAN EDIT
Start from a finished menu, shop, settings panel, or achievement toast. Every Roblox GUI Maker example opens in the editor and exports to Lua from this page.
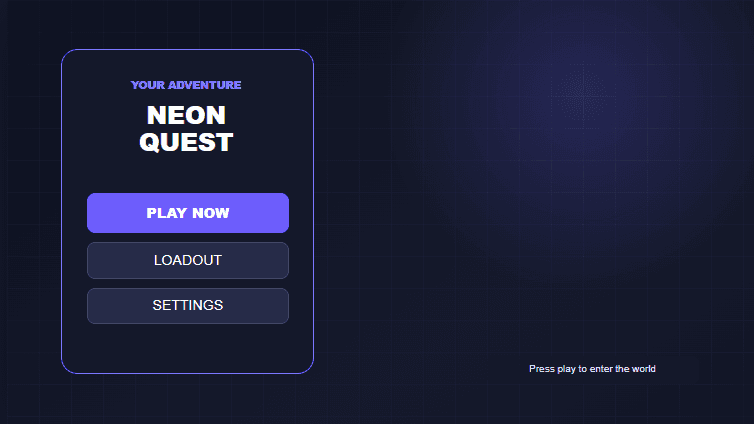
Game menu
A bold game entry screen
Launch a game session with clear primary actions.
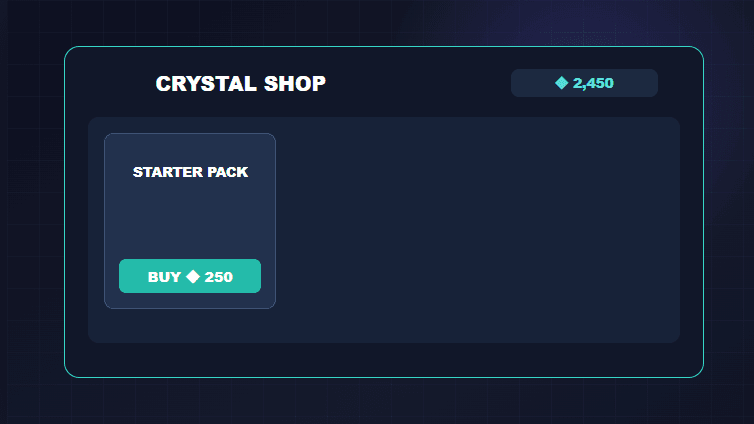
Shop interface
Scrollable item store layout
Present in-game items, prices, and currency at a glance.
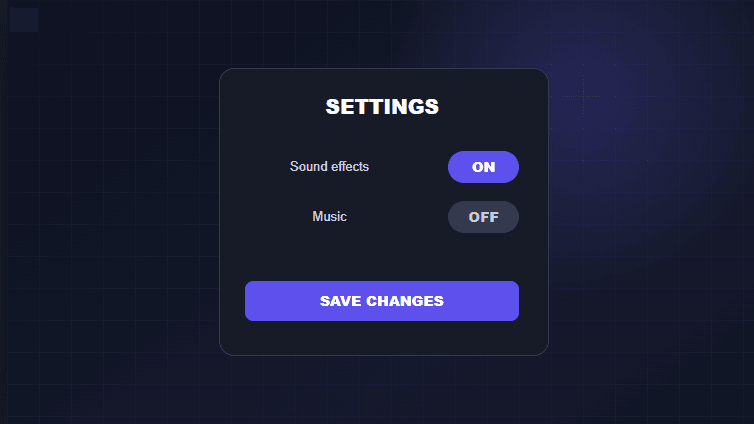
Settings panel
Settings panel with toggles
Give players a compact place to change game preferences.
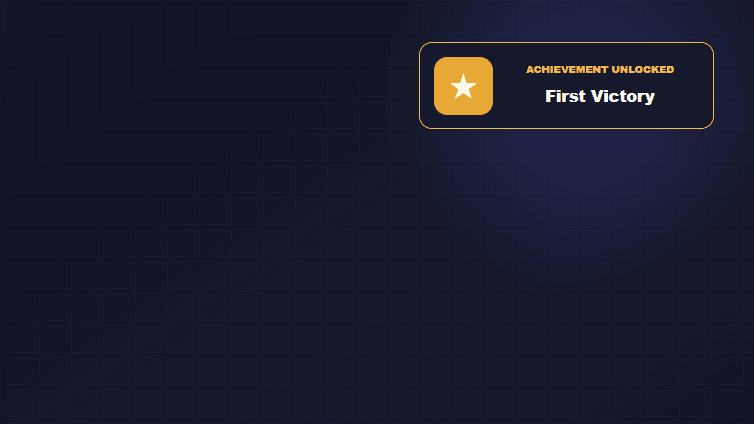
Achievement toast
Achievement toast overlay
Surface rewards, milestones, and short status updates.
READY-TO-USE OUTPUT
Roblox GUI Maker exports a LocalScript you can paste under StarterPlayerScripts.
FIRST TIME IN STUDIO?
In Roblox Studio, select View → Explorer.
Expand StarterPlayer → StarterPlayerScripts, click +, then choose LocalScript.
Delete the default line and paste the complete code copied from this page.
Click Play or press F5. Your GUI should appear in the game window.
Nothing appeared? Open View → Output and check for a red error message.
HOW IT WORKS
Roblox GUI Maker keeps the design, preview, and export steps on one page so you can move from an idea to a testable interface without rebuilding the layout by hand.
Open a polished template or begin with an empty canvas.
Drag, resize, nest, reorder, and tune every visible property.
Export a complete ScreenGui script and test it in Roblox Studio.
SEE THE WORKSPACE
The browser-based workflow keeps visual design and Lua output close together. Start with the editor, shape the interface, then export the current layout when you are ready to test it in Roblox Studio.
 Actual product view
BUILD WITH INTENT
A good Roblox interface helps a player understand what to do next without pulling attention away from the game. A main menu needs a clear first action, a shop needs readable prices and item groups, and a settings panel needs controls that are easy to scan. This Roblox GUI maker gives you a visual workspace for shaping those common interfaces before you write or edit a LocalScript by hand.
Use Roblox GUI Maker as a fast design and layout step: choose a starting template or blank canvas, place the elements your screen needs, then tune their size, position, colors, text, and hierarchy. You see the composition while you work, so it is easier to catch a crowded panel, a weak call to action, or a label that needs more room before the UI reaches Roblox Studio.
With Roblox GUI Maker, decide what the player should be able to do on the screen before adding decoration. For a game menu, that may be starting a session, opening a loadout, or changing settings. For a shop interface, it may be comparing an item with the player's available currency. Give the primary action a clear label and visual priority, then use frames and spacing to group supporting actions around it. Starting from a player task produces a more useful Roblox GUI than placing unrelated controls on a blank canvas.
Roblox GUI Maker lets you use a Frame to create a panel or card, then place TextLabel, TextButton, TextBox, ImageLabel, or ScrollingFrame elements inside it when the layout calls for them. The layer list helps you keep parent-child relationships understandable, which matters when one panel contains a title, description, button, and image. Rounded corners, strokes, text styling, transparency, and background colors are available as visual tools—not as a substitute for a clear hierarchy. Start with readable text and meaningful grouping, then add polish where it supports the player's next decision.
Use Roblox GUI Maker to tune the same interface for a wide desktop window and a narrow mobile screen. Components, hierarchy, and content stay shared while each target keeps its own position, size, text scale, corners, and strokes. The exported Lua includes both layouts, selects one from the actual Roblox viewport, and reapplies it if that viewport changes. Test both results in the experience that will use them, then refine each layout without rebuilding the component tree.
Roblox GUI Maker templates for menus, shops, settings, and achievement toasts are working starting points rather than screenshots. Open one in the editor to inspect its layers, change the copy, recolor the UI, resize the panels, or add components for your own game. Each template can then be exported from the same page, so the preview, editable document, and generated Lua describe the same interface. That makes templates useful when you need a quick Roblox UI reference but still want full control over the final layout and wording.
FROM CANVAS TO STUDIO
When the visual layout is ready, Roblox GUI Maker exports the current document as a Lua LocalScript that builds a ScreenGui and the supported UI instances under the player's PlayerGui. The export includes the visual properties you set, such as names, offset positions, sizes, colors, text, fonts, corner radius, strokes, and supported image asset IDs. It does not invent gameplay logic, data handling, or button events for your experience. Paste the code into Roblox Studio, run Play mode, and connect the finished interface to your own systems. Keeping layout generation and game behavior separate makes the starting code easier to inspect, test, and extend.
COMMON QUESTIONS
The practical details before you export.
Yes. The MVP editor, templates, local saving, and Lua export work without an account or payment.
Create a LocalScript under StarterPlayerScripts in Roblox Studio, paste the output, then run Play mode to test the interface.
No. Your current project is stored in your browser's local storage. Clearing that storage can remove it.
Not in the first version. The current workflow starts from a template or blank canvas and exports new Lua.
The builder supports frames, scrolling frames, text labels, text buttons, text boxes, and image labels. You can arrange them as layers and nest supported elements inside frames or scrolling frames.
Yes. Desktop and mobile share the same components and content while keeping separate layout values. The exported script selects the matching layout from the actual Roblox viewport and updates it when the viewport changes.
The export creates the visual ScreenGui and its components. Add your own event connections and game logic in Roblox Studio after you have the interface layout you want.
Name layers clearly, check their parent-child order, preview the interface at the intended canvas size, and make sure text, colors, and image asset IDs are ready. Then export the Lua and test it in Play mode.